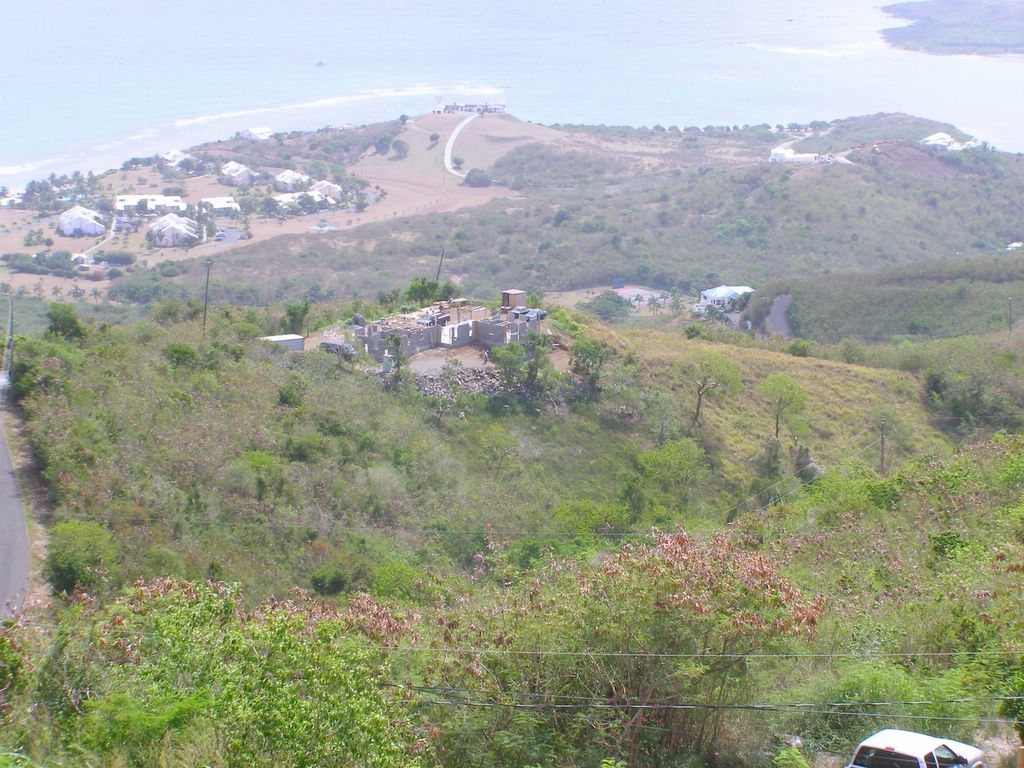
From The East Scenic Road

to enlarge, clik on image
posted by David at 4:49 PM
0 comments
![]()
![]()
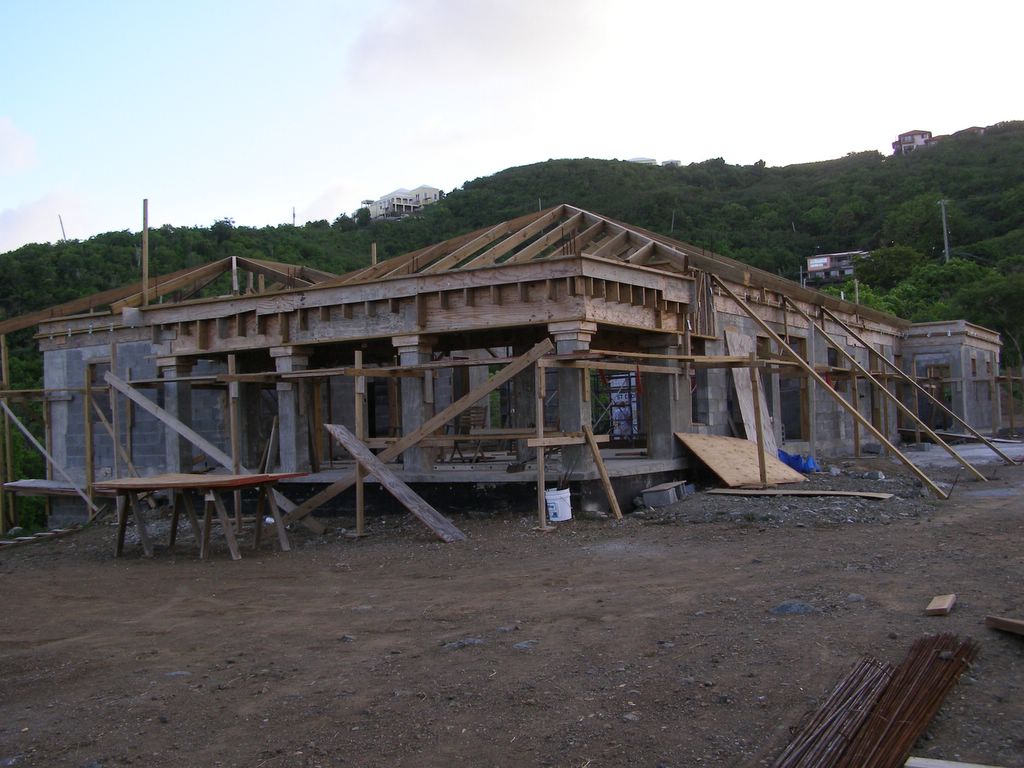
Follow along as I take the reader through the home-construction hand ringer, as we build our new home in St. Croix. From the permitting; the footings, concrete floors, bond and collar beams, cement block walls and pressure treated rafter lumber. To the exposed cypress roof decking; the cistern, rainwater collection system and solar collectors to make domestic hot water. Through the entire building process, to the last of the elastomeric roof coatings, the landscaping and more....
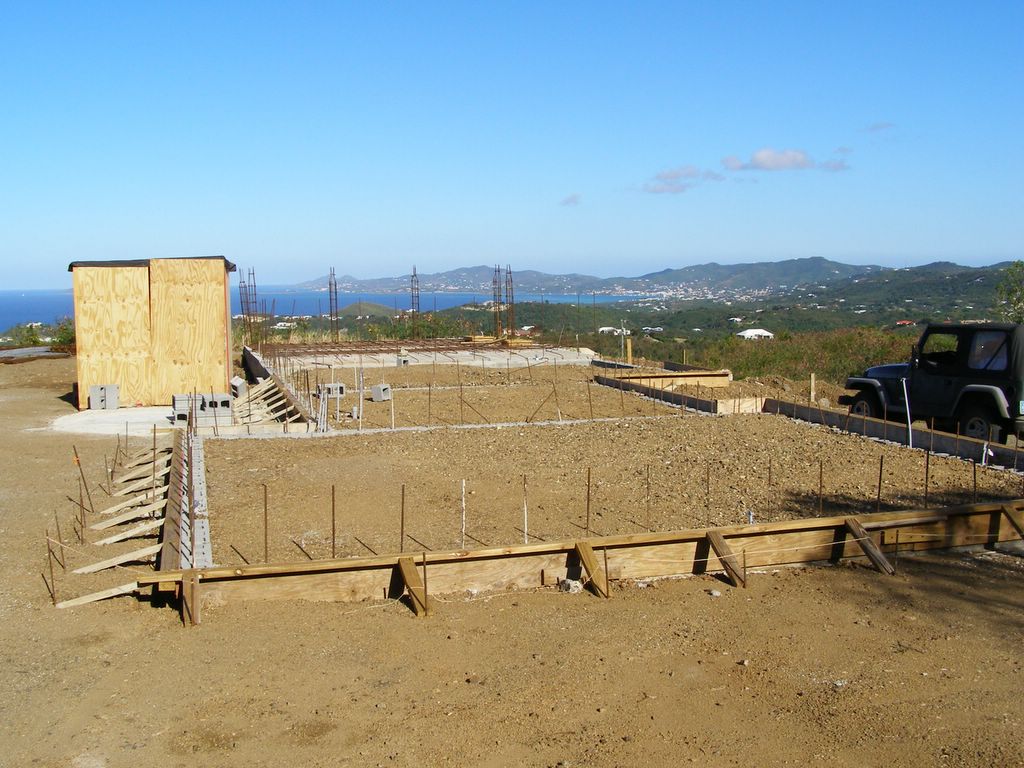
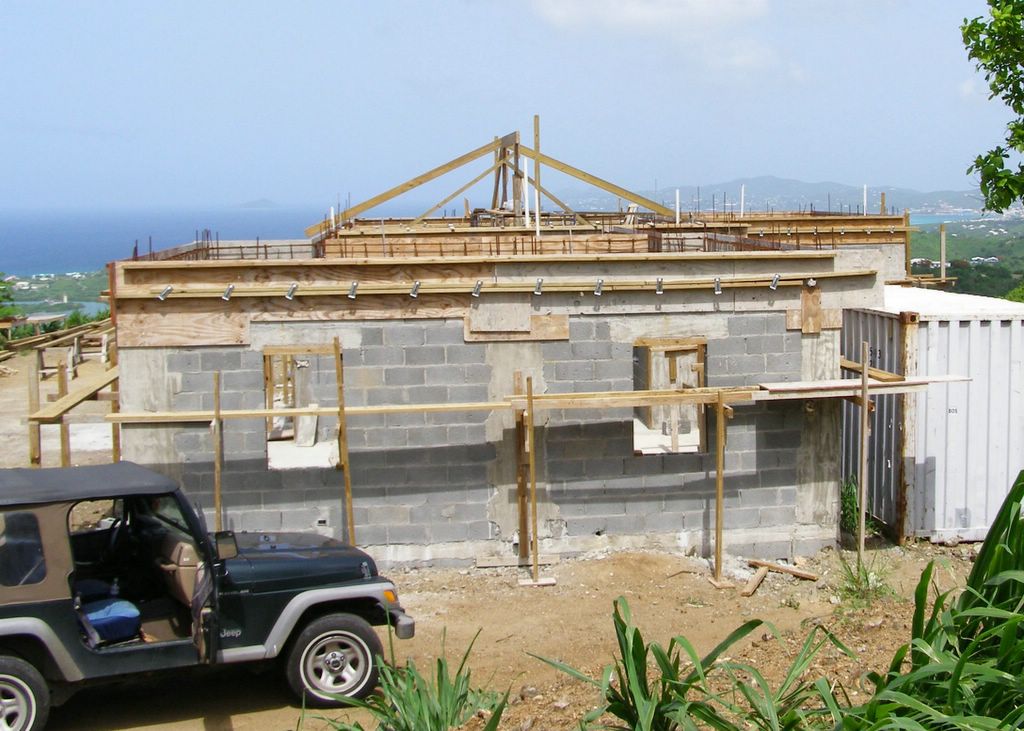
This photo was taken before the concrete slab was poured, looking east and a little south, you can see the busy area that is Christiansted town. Remember that these images can be enlarged thus: With your pointer on the photo, left-click the image; presto!
to enlarge, clik on image
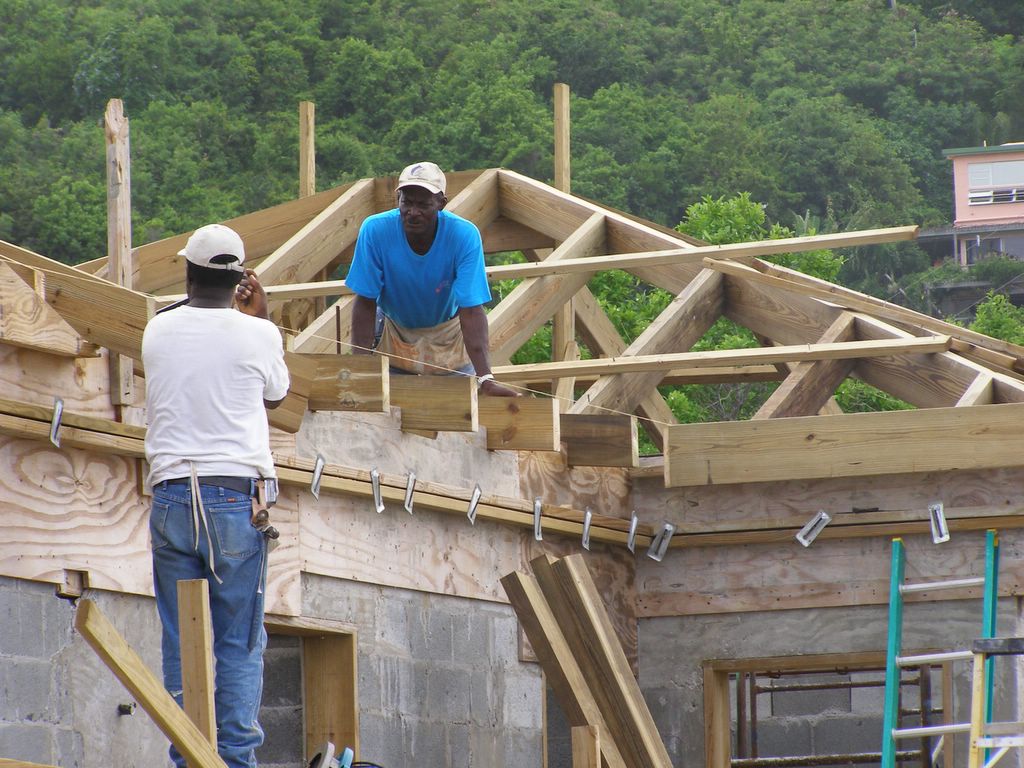
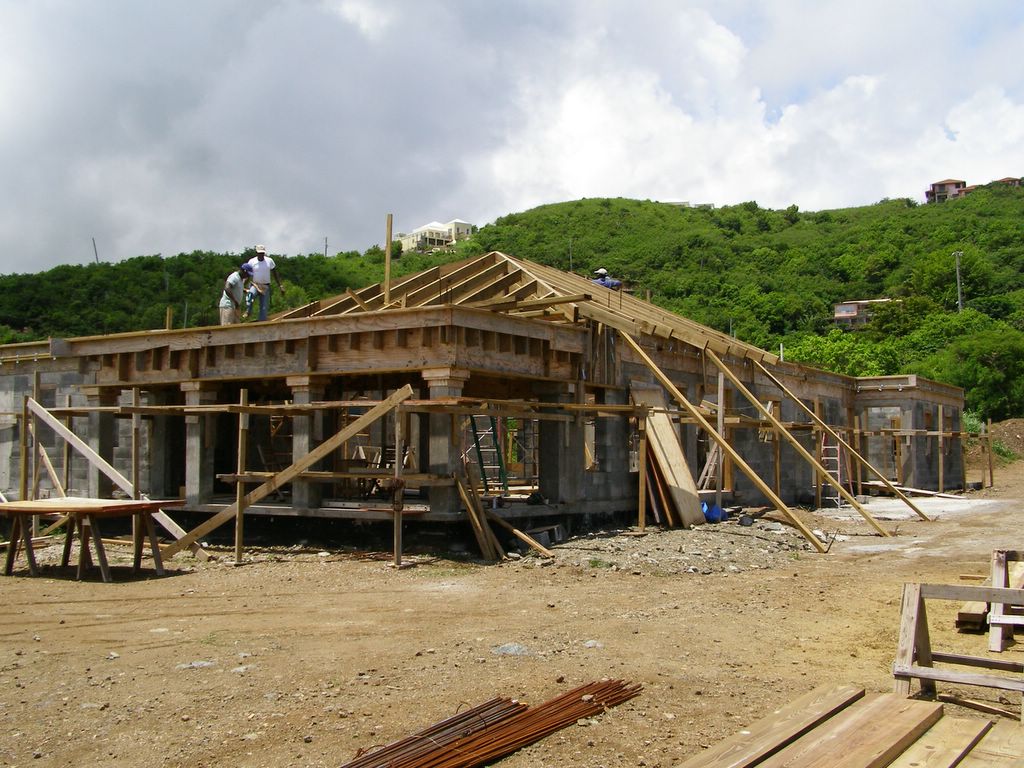
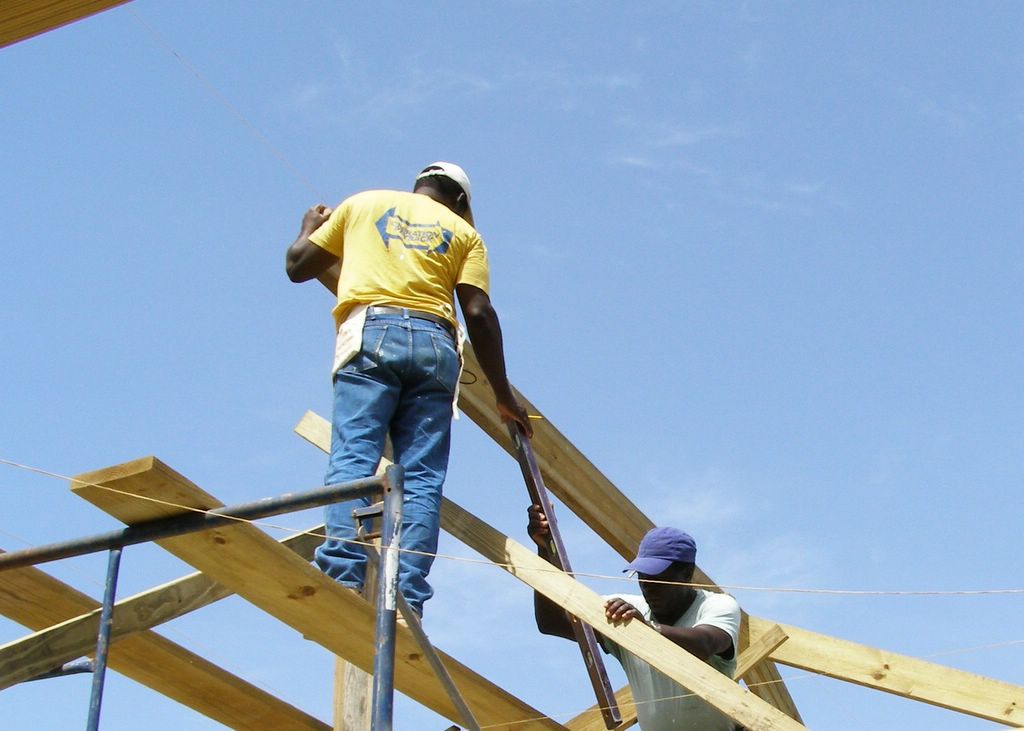
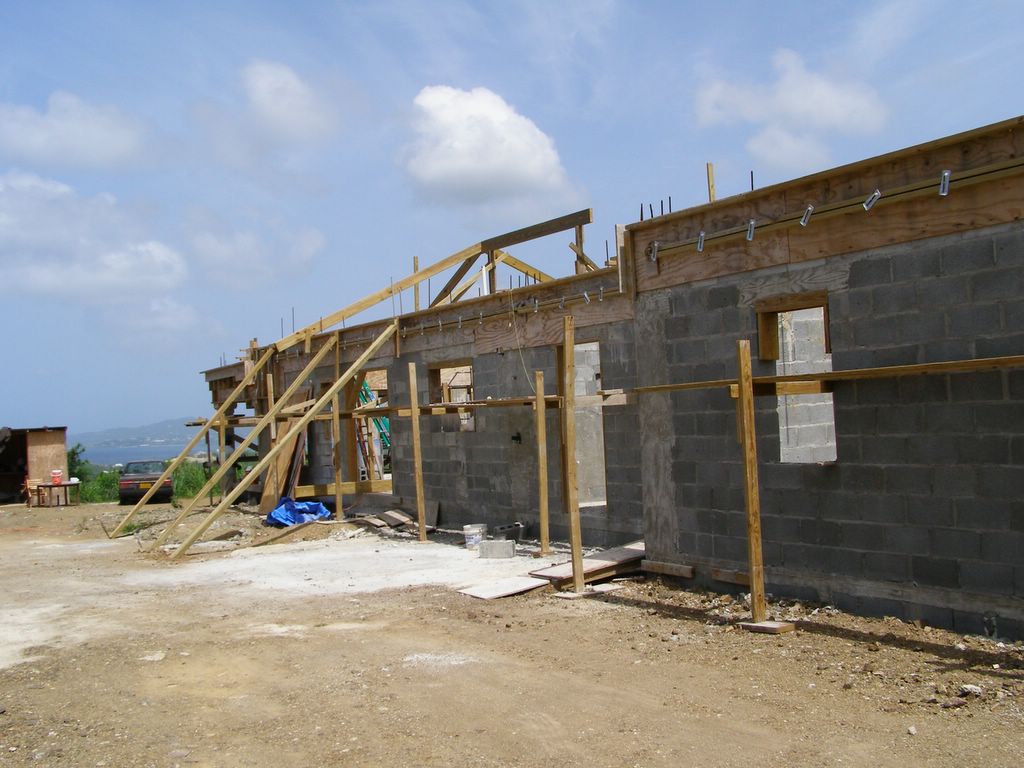
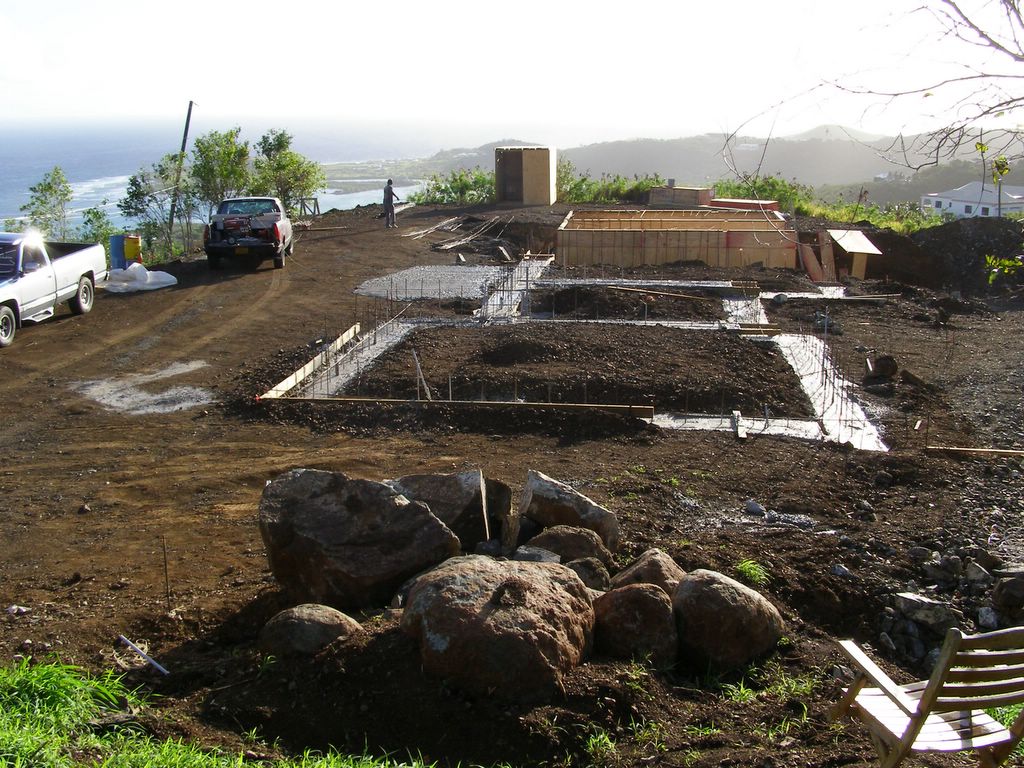
Edmund, with this back to the camera lens, discusses a point with Arnold Jeffers. The rafter "tails" overhang the plywood forms; Arnold is leaning on one of them. These tails will be trimmed off square, true and plumb, to accept the facia board. For the most part, this roof system has a very shallow pitch and the pitch it will be almost indiscernible from the ground. We are putting our solar hot water collector and the dish for the satellite television system we choose on this roof and we are hoping they disappear, too!

posted by David at 4:06 PM
0 comments
![]()
![]()
to enlarge, clik on image
posted by David at 6:55 PM
0 comments
![]()
![]()
posted by David at 12:56 PM
0 comments
![]()
![]()
posted by David at 12:00 PM
0 comments
![]()
![]()
to enlarge, clik on image
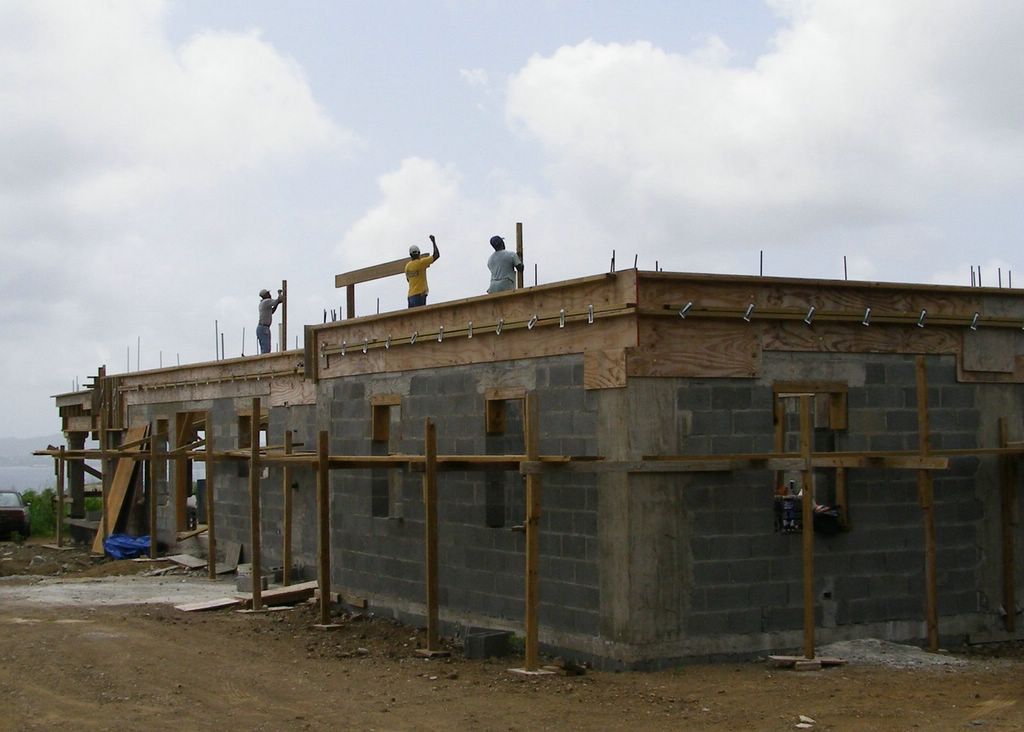
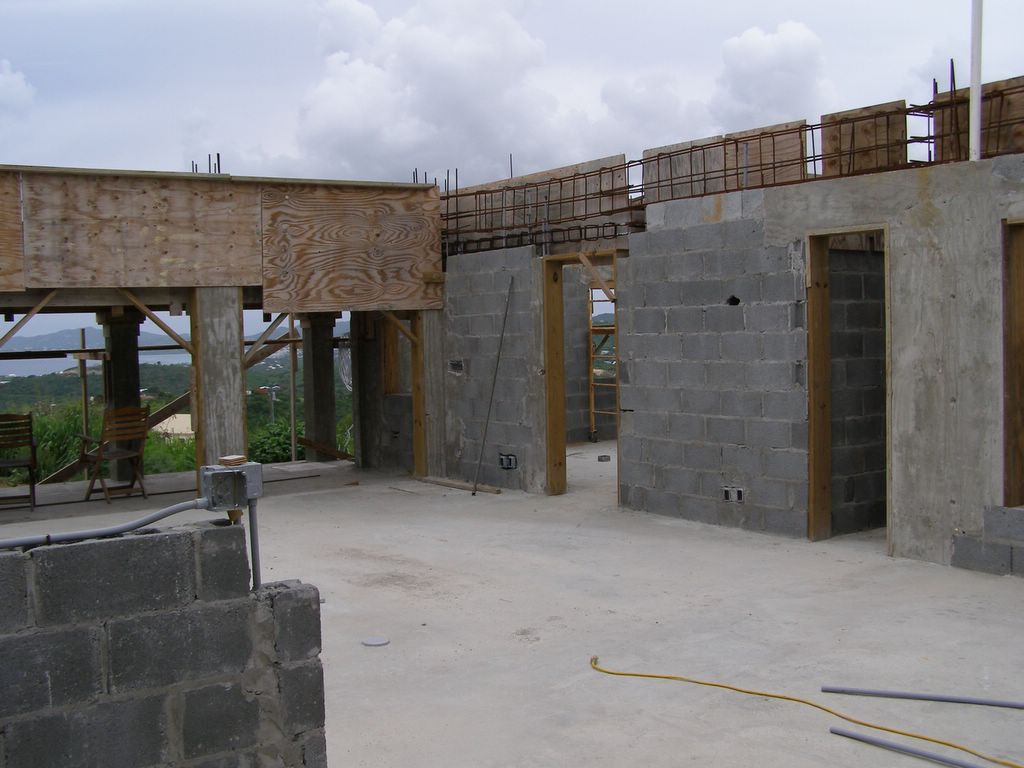
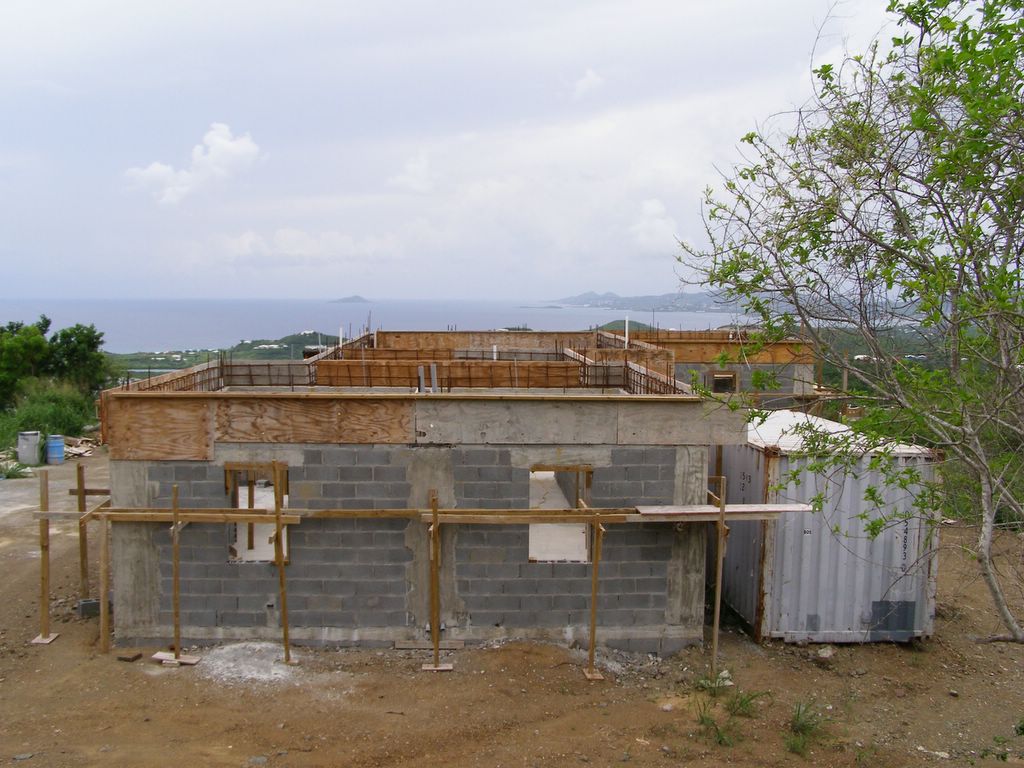
In this shot, taken from our kitchen area across the great room toward the south wall. The concrete block wall, which is the dividing partition between the camera's lens and the master bedroom. There are three six foot wide, double french, outswing doors. These are three double french door openings across that front wall (left to right in this shot) but one of them is off-camera. The other two doors in view are, left to right, the master bedroom door and a small closet door which, incidently, backs up to the linen closet in the master bathroom.
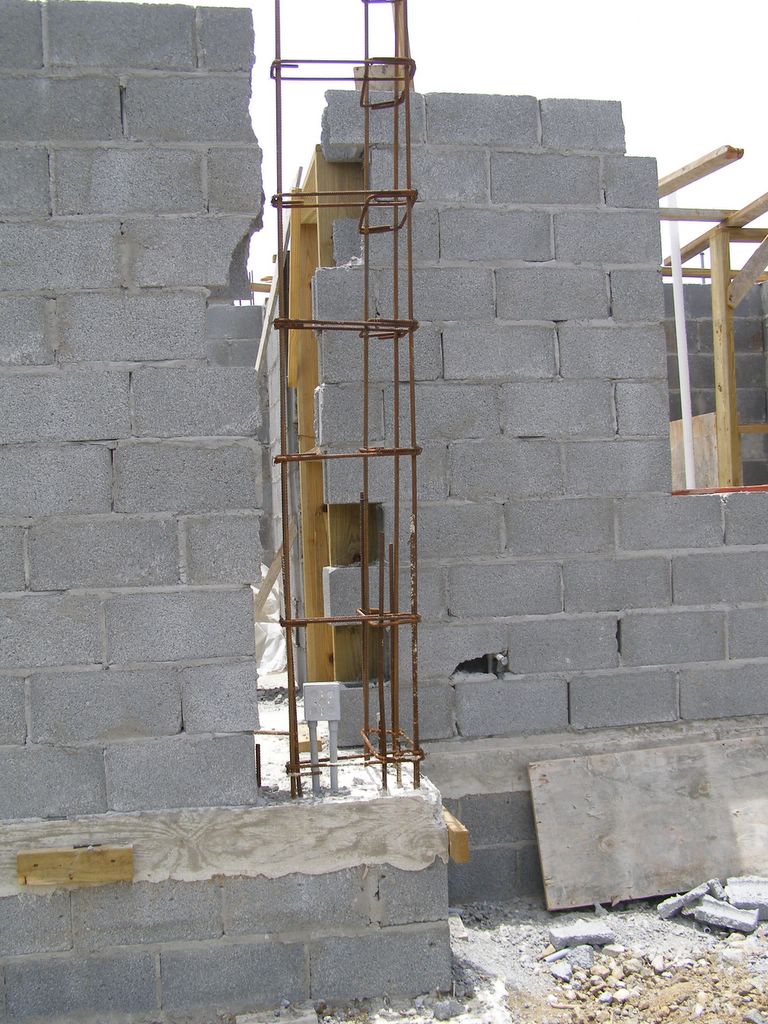
The bond beam, and the required steel reinforcing that will be cast within it, are evidenced in this photo when enlarged. You can also see some grey conduits (electrical) and some white pipes (plumbing) protruding vertically out of the cast corner, as well those vertical steel rebar column assemblies within some of the partition cavities. When completed, this structure, or conglomeration of vertical and horizontal steel rebar, will be bound together, with the vertical members bent over the top of the horizontal members, and serve as a means to fasten the beam between vertical posts and hold the structure in a tightly clenched grip for eternity. Anyway, that's the goal here.
But it doesn't stop there, this eternity thing raises it's head again, before the final concrete is poured into these plywood forms, covering all in a slurry of sloppy grey matter.
The second function of this bond beam is to strengthen the building walls and enhance the connection between the roof rafters, the building reinforcing steel and create a "building collar". The collar beam, or bond beam, are also intended to increase the strength of the wall system and prevent what is known(in most parts)as total building collapse.
I will endeavor to explain the phenomenon which occurs to building roofs, caused by the inclinations of gravity and constant stress, as well as the unexpected. No, I am not talking about any of you old folks and your sagging whatevers, although I do have a certain familiarity with the subject myself.
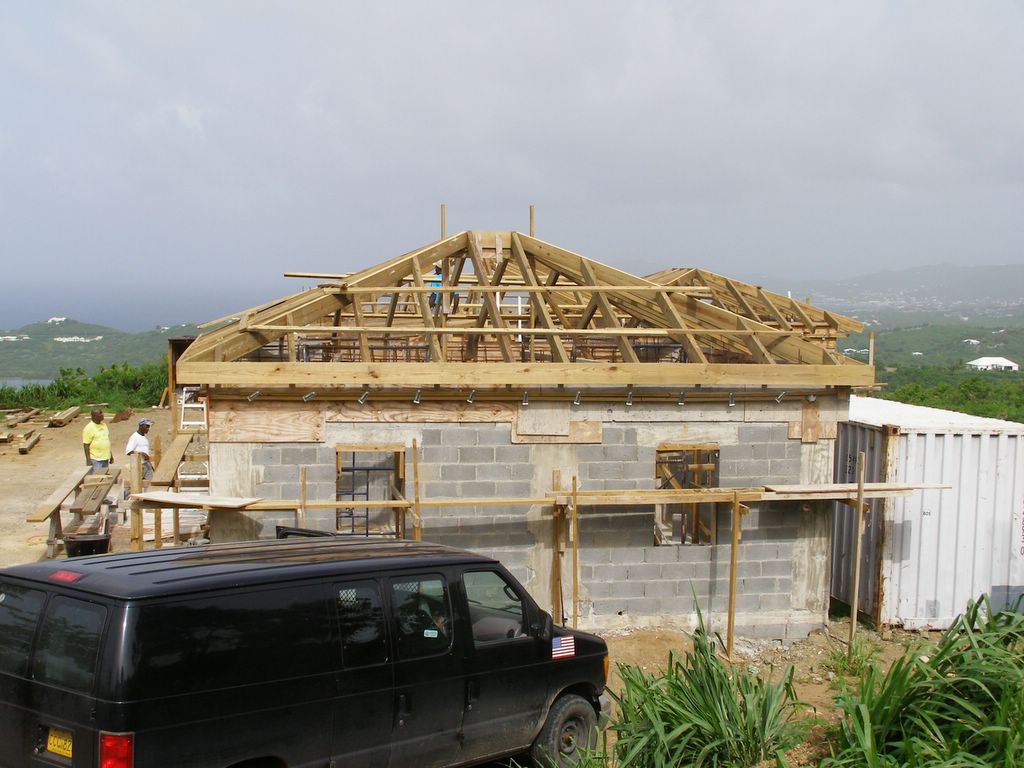
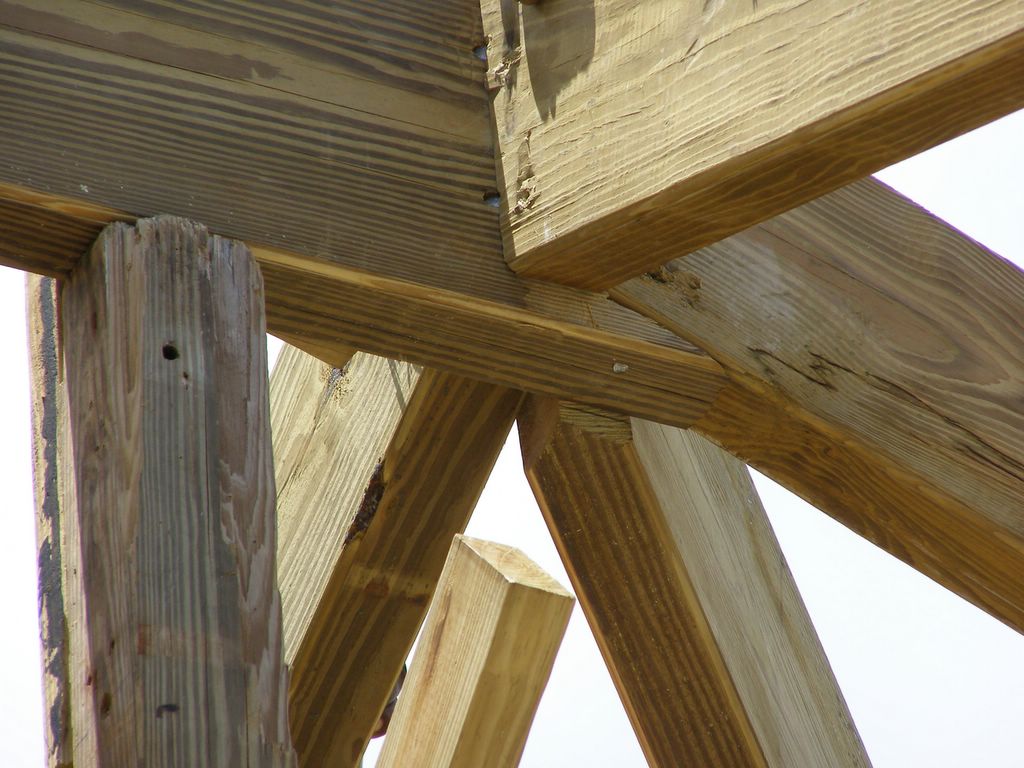
The top of this beam will serve as the resting place for the roof rafters; in our case, the roof is going to be what is known as a "hip" roof. Each rafter, a 3" X 8" plank of insect and mildew resistant lumber. Once called Wolminized lumber, for the inventor of the process, Mr. Wolmin. [sp?]. Some refer to it as pressure treated lumber, after the process of subjecting the raw lumber to high pressure osmosis if you will, of this poisonous (originally it was laced with arsenic) green-colored fluid. Anyway....
The rafters are placed on top of the forms as they are now layed out, with the proper spacing in between each member of 24". You will see this soon as the builder is coming back to work tomorrow (monday). More later..............
posted by David at 4:13 PM
0 comments
![]()
![]()
posted by David at 2:12 PM
0 comments
![]()
![]()

posted by David at 1:58 PM
0 comments
![]()
![]()
posted by David at 4:22 PM
0 comments
![]()
![]()
posted by David at 7:18 AM
0 comments
![]()
![]()